Tips & Tricks For Parents

Build A Bus And Help Your Child’s Listening Skills

Buses, cars and trains are a part of every family’s daily routine—going to work, school, or out and about. Children of all ages, all over the world, enjoy playing with toy vehicles!

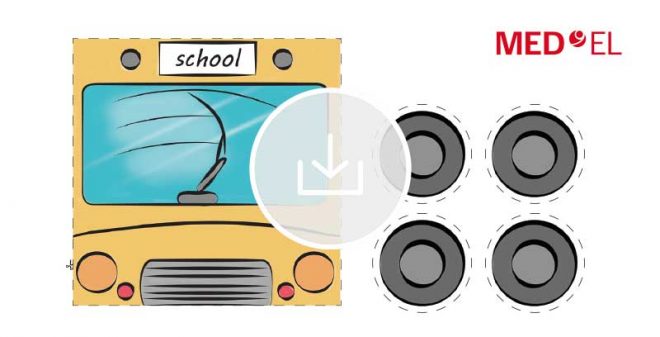
Playing with your child and their toy vehicles is also a fun way to help your child to practice their listening and speaking skills. Of course you can buy and use regular toy vehicles, but it can be much more fun to make your own at home. When making a vehicle with your child, you can incorporate lots of new vocabulary and language concepts, depending on the age of your child. Cutting out the different parts and gluing them together allows practice of fine motor skills too!

Want to try it out for yourself? Simply download our “Build A Bus” activity below, and get started!


Download “Build A Bus” Rehab Activity

Build A Bus Rehab Download

Instructions

  1. Print out the parts of the bus. Find a shoe box or container to use as the bus and wrap in plain paper.
  2. With your child, cut out all of the parts of the bus. You might need to help your child with the cutting.
  3. As you are cutting, talk about each part of the bus and what that part does: “The driver turns the wipers on when it’s raining so they can see.” Lay them all out on the table.
  4. Teach your child time concepts of first and next. Decide with your child, which part you will put on the bus first, next and last.
  5. Teach your child location words such as front, back, side, and middle. Talk about where the pieces should go, for example, “The driver needs to sit at the front so he can see the road. Let’s put the door on the side like the bus we take to the shop.”
  6. Help your child to glue the pieces on. Before you go ahead and open the glue, allow your child to attempt to open it themselves. If they can’t, look at your child expectantly and encourage them to use words to ask you for help to open it: “Open, please” or “Help, mummy”.
  7. Make a hole through the center of a wheel and in the side of the bus. Attach the wheel using a push pin so the wheel can spin around. Talk through what you are doing: “We have to make a hole in the wheel and then in the bus. Then we can push the wheel on. Now the wheel can spin around”. Before you put the other wheels on, pause, wait, and encourage your child to use words to tell you that you need more wheels.
  8. Cut around three sides of the door using a craft knife, so that you can open the door. Again, talk through what you are doing, why you are cutting the door, and that the knife is sharp.
  9. Help your child to use language to identify and solve problems. When all the pieces are in position, talk about what else the bus needs: “Oh no! There are no lights. If it gets dark the driver will not be able to see. Let’s draw some lights on“.
  10. Add passengers by cutting out the passenger pictures and sticking them on. Alternatively you could use pictures of your family, or add toy people. Talk to your child about who the passengers are, where they will sit, and where they are going.


For Babies and Younger Children

Even if your child has yet to say their first words, or only has a limited vocabulary, you can use this activity to model new words and sentence structures for them. Here are some extra activities to try.

  1. As you talk about each part of the bus, use sounds to match the pictures, such as “round and round” for the wheels, “swish, swish” for the wipers, “open, shut” for the door, and “hello” or “beep, beep” for the driver. Use repetition and a sing song melody: “Here are the wheels for the bus. They go round and round”.
  2. When doing each action, repeat the action word. For example, when using the glue, say “It’s sticky—stick stick stick”. Or “Cut, cut, cut the door!” when cutting out the door.
  3. Talk to your baby about who the passengers are and where they will sit. “Here is grandma—hi grandma! She can sit at the front of the bus”.
  4. When all of the pieces are in position, sing  the “Wheels on the Bus” song and point out each of the parts as you sing
  5. Push the bus back and forth. Get some toy people and put them on and off the bus. Say hello and bye as the people get on and off.


For Older Children

If your child is older, you can use this activity to expand their vocabulary and problem-solving skills. Below are some extension tasks you might like to try.

  1. Teach your child advanced vehicle parts, such as: lights, horn, license plate, indicator lights and steering wheel.
  2. Ask them how you can improve the bus. For example, “Oh no, there are no stairs. How will the people get on the bus?” Support your child to think of ways to solve the problem: “Maybe we could make some stairs with straws, or draw them on”.
  3. Practice listening to descriptions by taking it in turns to describe a passenger for the other person to find. Cut it out and then stick it on the bus. Increase the length and complexity of your descriptions to develop your child’s auditory memory.


Looking for more rehab activities to try at home? Here are 3 everyday objects you can use to help your child with their cochlear implant rehabilitation.

Find out more about how cochlear implants work and how they could help you or your child.

Thanks for your message. We will reply as soon as possible.

Send us a message

Field is required

John Doe

Field is required

name@mail.com

Field is required

What do you think?

Send Message

The content on this website is for general informational purposes only and should not be taken as medical advice. Please contact your doctor or hearing specialist to learn what type of hearing solution is suitable for your specific needs. Not all products, features, or indications shown are approved in all countries.

Processing Comment

Sorry. There was an error. Please try again.

Thanks for your feedback. Your comment will be published after approval.

Leave your comment